100views
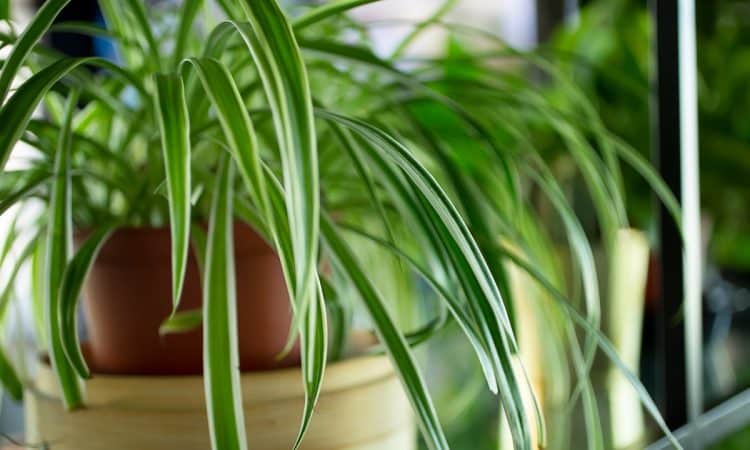
Spider plants or chlorophytums are resilient houseplants that can easily be propagated, allowing you to create several new plants from just one. These plants are popular for their striking appearance, ease of care, and rapid leaf growth. In addition to their beauty, they are highly effective at purifying the air, making them an excellent choice for the bedroom. Fortunately, propagating spider plants is straightforward and can be done without purchasing new plants.
Propagating Spider Plants: A Step-by-Step Guide
What You’ll Need
- Healthy shoot ends: Choose healthy shoots from your spider plant.
- A large glass container: A glass or jar works well.
- Water: For propagation in water.
- Pine cone: Easily found outside or already available at home.
Steps for Propagation
- Prepare the Shoots:
- Cut the shoots from the spider plant as close to the leaves as possible.
- Take the pine cone and gently insert the shoots into its slits. You can place multiple shoots in one pine cone.
- Place in Water:
- Put the pine cone with the shoots into a glass of water. It doesn’t matter if the cone sinks; the more it is covered with water, the better.
- Place the glass in a bright spot and leave it for about a week to a week and a half. Be sure to replace any evaporated water.
- Planting:
- After this period, the shoots should be ready to plant in the soil. Ensure they have developed roots before transferring them to a pot.
Using this simple method, you can easily propagate your spider plants and enjoy a greener home without the need to buy additional plants.

